.post img { border:5px solid #d2d2d2; padding:2px; }

Tuesday, 24 May 2016

Science Camp Day 1


20 students and myself were lucky enough to be invited to attend 4 different workshops across two days. A huge thank you must go out to Jenny Dee, Hawke's Bay Branch of the Royal Society of NZ for organising this opportunity as it was free to schools.

Day 1:  Air Pollution


10 excited students and 1 teacher set off to the Napier Sailing Club to learn about air pollution. We discovered that as a city we were doing better than most. The specialists from the Hawke's Bay Regional Council shared some of their experiences of having to wear masks while cycling in the smog in London and we viewed images such as the one below of other cities around the world.

Smog in Shanghai
Students discussed what they thought the major contributors to air pollution were and they identified quite a few but we were surprised to find out that the worst in our city of Napier are the older woodburners in winter. Surprisingly traffic pollution which was thought to be the worst only contributed to about 5% of air pollution as Napier does not have that much heavy industrial traffic. We carried out an experiment of putting white socks on the exhaust pipes of a diesel ute and a hybrid car and ran them for two minutes. The result was clear on which type of vehicles we need on our roads and how much air pollution a diesel produces.

White socks on exhaust pipes

We looked at various methods the HBRC used to collect and monitor air pollution and different ways we could do this in our own school grounds, such as smearing a white piece of cardboard with vaseline to see what it collects in a set period of time. It was interesting to hear that there were permanent sites set up around the city and machines were demonstrated that were used where a car drove around various neighbourhoods and tested the air. We looked at data collected over periods of time comparing different years and the amount of transgressions over the limit made within that time period. I'm not going to mention which two neighbourhoods were the worst for exceeding the limits every time.


Air pollution is measured as something called PM10 which is made up of solid and liquid particles less than 10 micrometres in diameter which we learnt is roughly a fifth of the width of a human hair. We cannot see it and it can remain in the air for long periods of time and can be easily inhaled. I think it surprised the students how many health issues were related back to air pollution. Here they are acting out the job of the fine hairs that try to filter the PM10 on the way into our lungs.


Conservation in the Ahuriri Estuary

In the afternoon we met two good old blokes who have been working for the Conservation arm of the Hawke's Bay Regional Council for as long as they can recall. The kids were looking forward to this session as it meant getting muddy.


Before we headed off down to the estuary we found out a bit about why our estuary was so important and identified a few of the birds that we might be able to see. I hadn't realised that our estuary was the most significant on the East Coast all the way from Wellington up to Whakatane. It is the largest in size and in breeding numbers for the birds.

The kids were involved in activities such as searching and gathering food that the Godwit birds like to eat. They found plenty of crabs and small fish which led to a discussion about how important the estuary is as a breeding ground for some fish species that supply the big fishing out in the Bay.


Bird watching required patience and it was high tide so there weren't as many as there had been in the morning but we were rewarded with a pair of Herons and Godwits. We also learnt about the importance of some of the plant life there, how hardy it can be but also how we must protect it and the birds. The biggest danger to the birds are people walking their dogs off leads.


Back in the Sailing Club where it was warm at last the students had the chance to share what they had learnt and in the process learnt a bit about taxidermy.


Tuesday, 22 March 2016

Putting Out Fire!

Well after lighting so many fires it was time to see how many different ways we could put one out.

We began by recapping what we knew about what fire needed and then investigated the 'Fire Triangle' which was a great visual for explaining the equivalent resources required.


The first investigation was to figure out the best way to take the 'heat' out of the fire (put out the candle flame) using a spray bottle of water. The consensus was that spraying from the side was largely ineffective compared to spraying from the top but best of all was found to be slower heavier drips from above. This led onto some students researching how fire sprinklers worked.


The next challenge was to remove the 'Oxygen' from the triangle. Students knew from their jar investigations one way of doing it so what was another? Once someone came up with an idea then others were keen to try it. There was plenty of dicsussion on how best to do this safely.


Using Carbon Dioxide (CO2) really got some students thinking. They enjoyed watching the reaction occur when combining the vinegar and baking soda. The question was why did the shorter of the two candles they had in the bowl go out? Most chose to repeat this experiment because it was fun but also to confirm that the result was consistent. Again they were successful in removing the Oxygen from the Fire triangle.


Using tinfoil to make a trough to 'pour' CO2  down provided a challenge for most. There was a very fine line between the gas travelling down to extinguish the candle and having all the liquid run down and drowning it instead. This investigation provided opportunities for great perseverance, team work, and visualisation. The students knew from the previous experiment that the gas was CO2 but how could it run downhill? Don't all gases float in the air? Those who were interested researched and confirmed some of their thoughts about CO2 being heavier than O2.


The grand finale of this session was flour. This didn't sound very exciting. When discussing the Fire triangle we had listed a huge range of various types of fuels on the whiteboard. I asked the question 'Is flour a fuel?' This was hotly debated with many different reasons for and against it. We all watched with anticipation as a student lit a match and dropped it into a bowl of flour. Nothing happened. So I demonstrated another way that we could experiment with by providing an increased amount of oxygen with the flour and heat this time. The results were amazing and everyone simply had to have a go!


Thursday, 17 March 2016

Green Jars

Green Jars

This simple experiment kept students occupied for over an hour. I simply had resources available and left them to it. Those who were still in doubt as to what to do simply looked at what others were doing and discussed what order to do things, checking to see if they were doing it correctly. I had the simple job of walking around taking videos and photos with my constant questions of 'why is that happening?', 'what do you think is causing it?', and 'how could you be sure?'

That got me wondering if it was because they had to follow the instructions and work it out for themselves and not having me explain the procedure to them. I'm definitely going to try other experiments this way to see if I can get the same results.


Students were really keen to try all the different sized candles with a variety of jars. They discovered that the smaller the candle and the larger the jar then the longer it took for the candle to extinguish and the more liquid was vacuumed up into the jar. But the reason 'why' this was happening provided many diverse theories.

The smoke in the jar puts out the candle

The smaller the candle the faster the liquid will be drawn in

A small candle means there is more space to fill

The amount of liquid drawn in depends on the size of the flame

The candle is sucking the oxygen up from the water

Likening the vacuum created to what occurs in space

The burnt oxygen has created empty space that needs to be filled


When we came back together as a class they filled the whiteboard with their theories and we were able to piece together all the relevant ideas to explain what had happened and why. A couple took notes of the explanation but the majority drew pictures with labels to demonstrate their understanding. 

I think we need to follow this up with some experiments on how and why hot air expands ...


Wednesday, 16 March 2016

Candle Light

Candle Light

I began with a big safety rant about being sensible and being aware of the dangers involved with flames, how to light matches, and what to do in case of accidents, going over various possible scenarios. (I hate lecturing learners but in this case it was necessary.)

With that out of the way we got down to the business of learning about the actual flame of a candle. Everyone had flames to observe and it was amazing all the different colours that were visible, the feel, and smell of the flame burning the wick when we really used all our senses. Some students used devices to investigate what the different colours of the flame indicated while others sketched what they could see.


Next was to experiment to see what would happen if a live match was brought close to the flame compared to a dead match. There were lots of 'jumps' and the occassional 'bleep' word when this happened. The dead match was nowhere near as exciting but the great question was 'why' was there this difference in reaction from the match?


The students then extinguished the cande and immediately held a burning match in the smoke wafting up from the candle. It was amazing to see the flame jump down the smoke to reignite the candle. After a discussion in which various theories were debated, experimented with, and some eliminated, the students were able to talk about the gases in the smoke being responsible for this.


Predictions were made about what would happen when a saucer was held close above the candle flame? This gathered a variety of responses, from melting the saucer to black ash, with some very astute predictions following on from our Methane gas model. This is what we observed. Black smoke from incomplete combustion, known as soot.


Our final experiment of the day involved predictions of what would happen if an inverted jar was placed over the candle. There was no fooling these guys as we had had so many discussions involving the need for oxygen and the production of carbon dioxide and water over the week that they all knew the candle flame was not going to survive! So the task was to experiment with different sized jars and various sized candles to see if there was any difference in the time it took for the flame to extinguish.


Their findings were that the smaller the candle and the larger the jar then the longer it would take for the flame to die out. And we managed not to set off any smoke alarms!


Friday, 11 March 2016

FIRE

 WARNING: FIRE RISK

The first brainstorm question of the day 'What is fire?' actually had a few scratching their heads but when discussing it with their group some ideas began to flow. 'What makes fire?' gathered a lot more background knowledge to build on.


We then discussed how scientist use models to show things because we can't actually 'see' them and as we are scientists we needed to make some models of atoms and molecules to understand what happens to create fire and the chemical change that occurs. This was the fun part. I used methane gas (CH4) as a fuel source as it burns cleanly and produces just water (H2O) and carbon dioxide (CO2) and many students were familiar with this gas as it was used for cooking at home. The students made the methane gas molecule first, looking closely at the structure.


Next they had to think about what fire needs to burn so oxygen (O2) needed to be built.


Funnily enough no one was keen to set fire to their lollies for the demonstration so we mimed the ignition but had to make a quick rearrangement of the molecules to demonstrate what happens to the gas and oxygen. As everyone had selected different colours they had to think carefully about which were the Hydrogen and which were the Oxygen molecules when restructuring into Carbon dioxide and Water.


Some students took up the challenge of attempting to create the molecules without a picture and they did an excellent job without knowing the exact structure while others preferred to follow a diagram. Everyone was successful in creating jube lollipops and the challenge was set to see how many they could cram onto one toothpick!


Sunday, 6 March 2016

Quicksand

Danger Quicksand!


The word spread quickly through the playground. We were getting messy again! 

The first task was to make the quicksand recipe, add some food colouring (just for fun) and then take it outside and play with it. Yes, PLAY with it. The kids could not believe their ears but they were amazed at what they discovered while doing this. The cries of 'look at this!' echoed all around us as everyone was busy exploring the physical properties of their 'quicksand'.


We then explored a concept cartoon and had small group discussions to see if the students could reach a consensus based on their experiences with their quicksand. 


They couldn't agree so predictions and sketches were made on how to investigate which of the three scenarios would be the most successful to escape if you were caught in a pool of quicksand. Then using plasticine peolple and quicksand students set about trying to prove their theory was correct.

Swimming fast didn't work either
Calmly lying still and floating wasn't successful


There were some very smug people once we all shared our outcomes and discussed how best to move through this Non-Newtonian fluid. 

Would you know how to escape from quicksand?

What the kids said about today:

Wednesday, 2 March 2016

Viscosity

Viscosity

Interestingly no one had heard of this word before but plenty of suggestions came up of what it sounded like or reminded students of but from experience I know that kids enjoy playing with marbles and getting messy with gooey stuff.

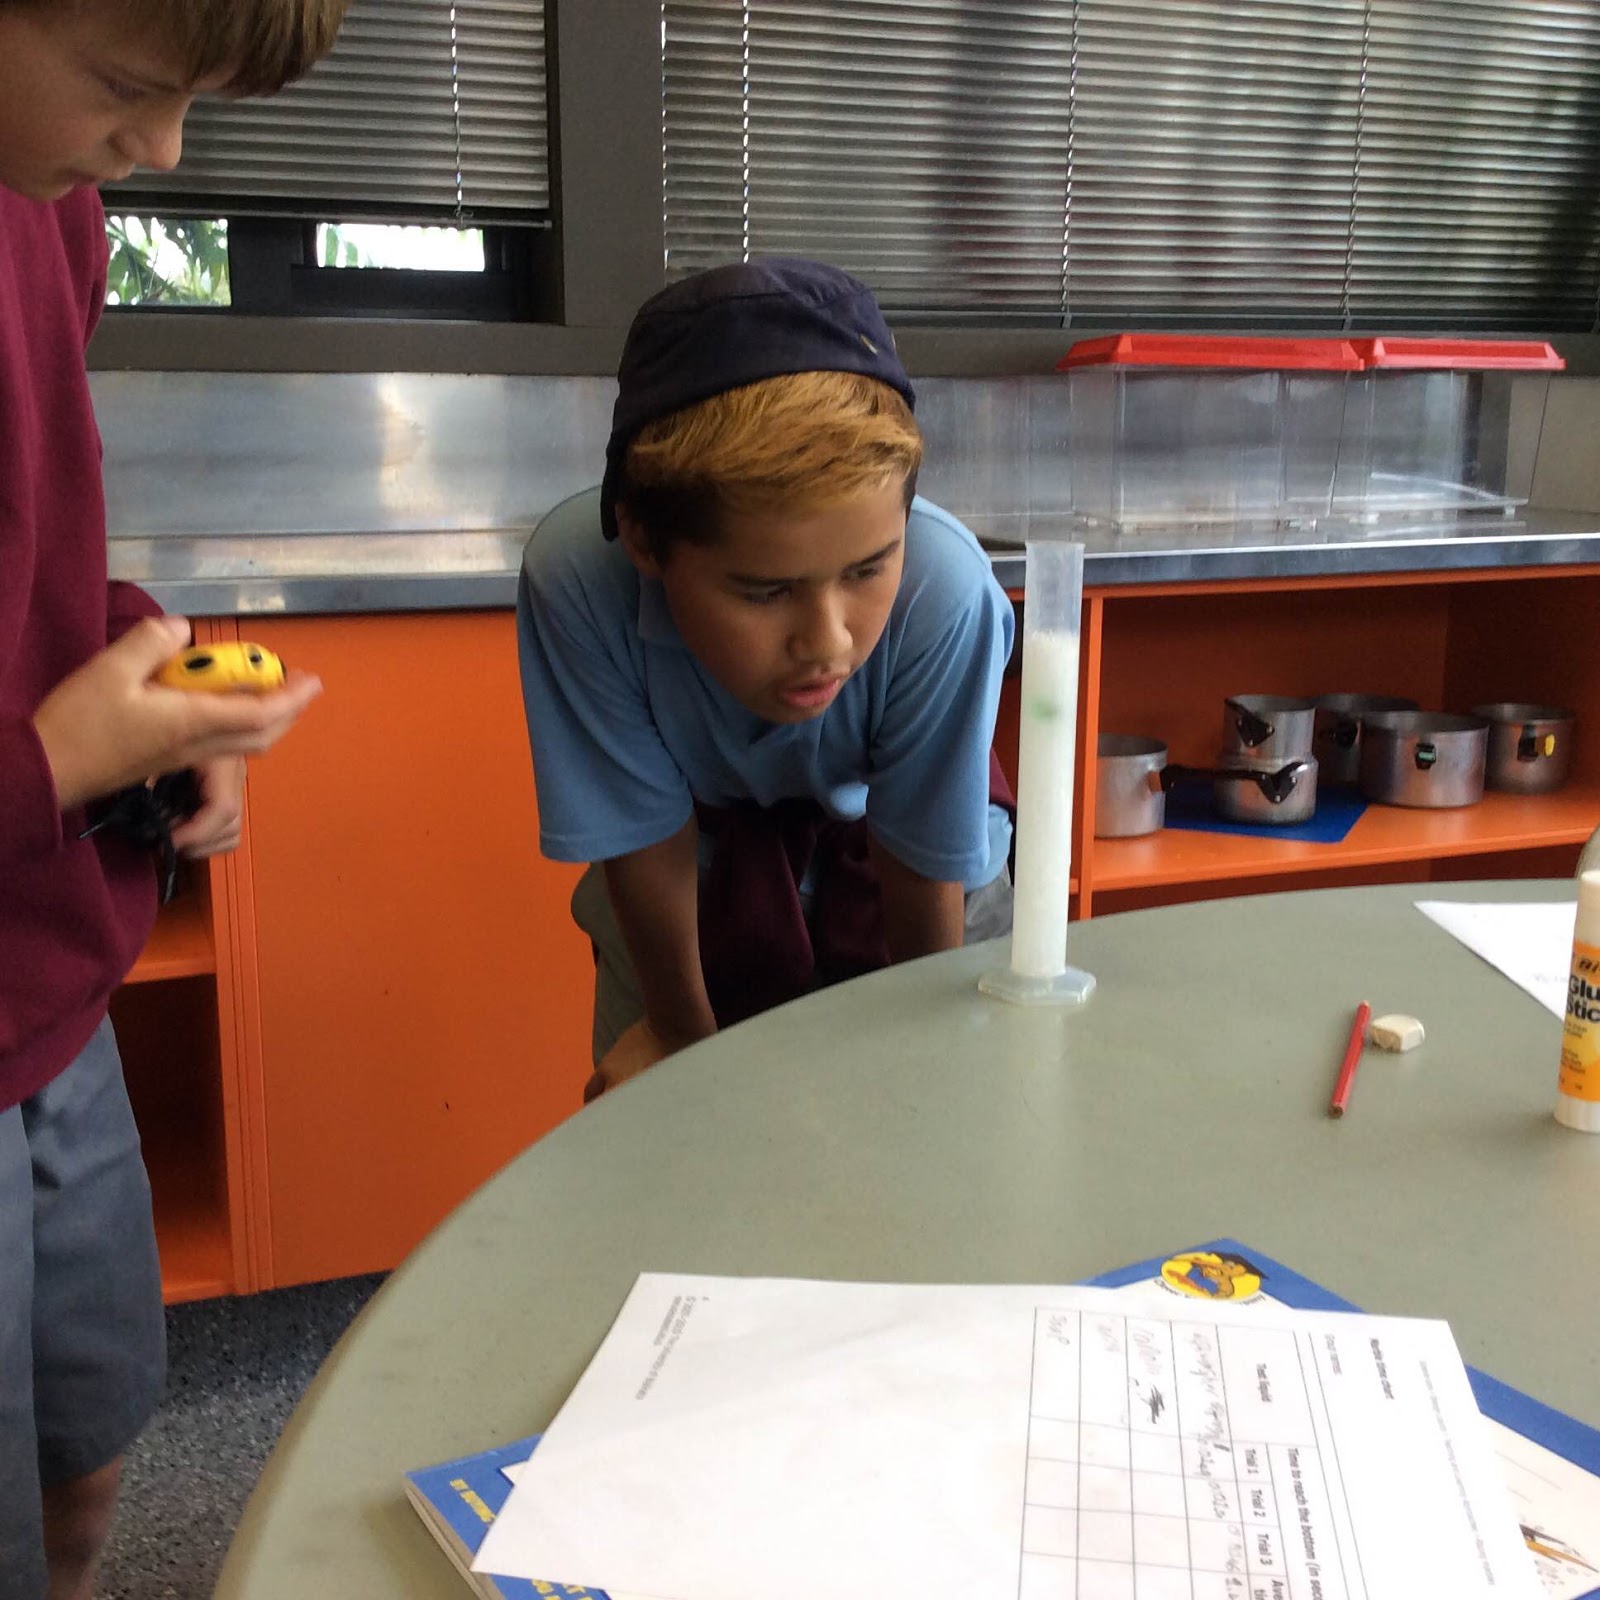
We organised ourselves and set all our equipment up. As I explained the experiment students made predictions about which liquid the marble would pass through the fastest. (Word had obviously spread because in the first class we had a wide range of predictions but by the last class this had suddenly narrowed suspiciously). We needed to discuss some questions about what would make a 'fair test' and there was a diverse range of background knowledge but within their groups students were able to identify the important variables which would need to remain constant.


Filling containers and timing the marble through various liquids was fun. Rescuing marbles was messy!


We delved into maths with a mini lesson on how to work out averages and use short division (very relevant with Statistical investigations going on back in classrooms) and I knew that some understood it well when they were able to teach their peers who needed a little more reinforcement. As we were using stopwatches, another mini lesson was required for decimals and rounding. So much more fun to learn in an authentic, need to know, in the moment experience.

Learning to work out averages with short division
Teaching another how to work out averages
From all our testing and some directive questioning students were able to come to the conclusion that 'viscosity' is, put very simply, how thick a liquid is or put a bit more technically, a liquid's resistance to flow.